

Beating a control opponent's early defenses isn't the hard part — actually finishing the game before they stabilize and take it over is. Here's how to close.
The control decks you'll actually face in the current Fusion World meta aren't trying to win the early turns — they're trying to survive them, accumulate resources, and eventually flip the game into a position where their late-game plan takes over. Plenty of players get a good start against control and still lose, because getting ahead early isn't the same as actually closing the game out.
The mistake is treating an early lead as inevitable. Control decks are built specifically to survive a lead and come back from it — through Awakened Leaders, defensive Battle Cards, and card advantage that accumulates the longer the game goes. If you don't have an actual plan to end the game while you're ahead, that lead can evaporate.
This guide covers what makes control decks so dangerous once they stabilize, and the concrete adjustments — in sequencing and win-condition planning — that let you actually close the game rather than just leading it for a while.
→ Short Version
Control decks are built to survive an early deficit, not avoid one — an early lead against control means nothing without a plan to convert it. Leader Awakening is the moment control decks flip the game — know when your opponent's Leader can Awaken and plan your pressure around denying or surviving that turn. Overextending into a stabilized control board loses games you were already winning — commit only what you need to keep closing. The best window to finish is before their Leader Awakens, not after.
→ Related Reading
- Leader Awakening by Color
- Beating Aggro in Fusion World: Anti-Red Tech
- The Fusion World Mulligan & Mind-Games Guide
- Building Your First Fusion World Deck
In This Guide
Why Early Leads Against Control Evaporate
Control decks in Fusion World are built around the assumption that they'll be behind early. Their defensive Battle Cards, their card-advantage tools, and their Leader's Awakened side are all designed to convert a slow start into a stronger mid-to-late game. An early lead against a deck like this isn't a sign you're winning — it's the expected first act of the matchup from the control player's perspective.
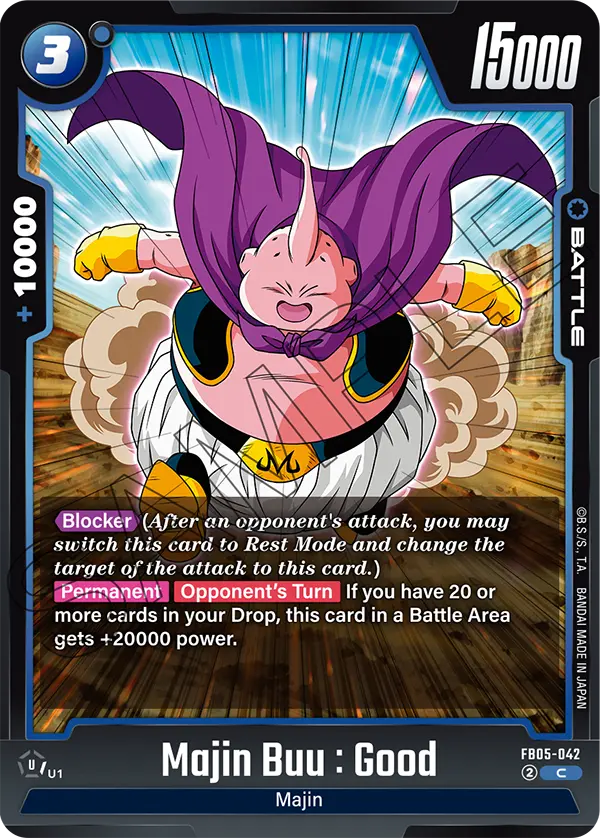
That means playing this matchup the same way you'd play against a deck without a comeback plan is a mistake. If you're ahead early and simply continue developing at the same pace without an actual plan to end the game, you're giving the control deck exactly the time it needs to stabilize and take over.
The fix starts with recognizing that an early lead is a resource, not a result — it needs to be spent on closing the game, not just maintained indefinitely.
Why Leads Evaporate: The Control Comeback Toolkit
| Their Recovery Tool | How It Flips the Game | How You Prevent It |
|---|---|---|
| Leader Awakening | Unlocks stronger abilities and a more resilient game plan — often the single biggest swing | Know the trigger condition; close before it fires or plan your sequencing around the flip |
| Defensive Battle Cards | Blocker units absorb your attacks; Combo defense turns trades in their favor (see the defensive keywords guide) | Commit only what you need — don't feed extra attackers into their defensive pieces |
| Card advantage over time | Full hand + untapped Energy = every answer available at once (energy management) | Push when their hand and Energy are both low, not when their board looks empty |
| Board wipes / mass removal | Punishes overextension — clears your entire board in one shot | Never commit more attackers than you need to keep the clock moving |
The Awakening Window
A control Leader flipping to its Awakened side is usually the single biggest turning point in the matchup — it typically unlocks stronger abilities and a more resilient game plan than the Leader had access to before. Know the condition that triggers your specific opponent's Awakening, whether that's a Life threshold or another game state, and treat the turns before it as your real closing window.
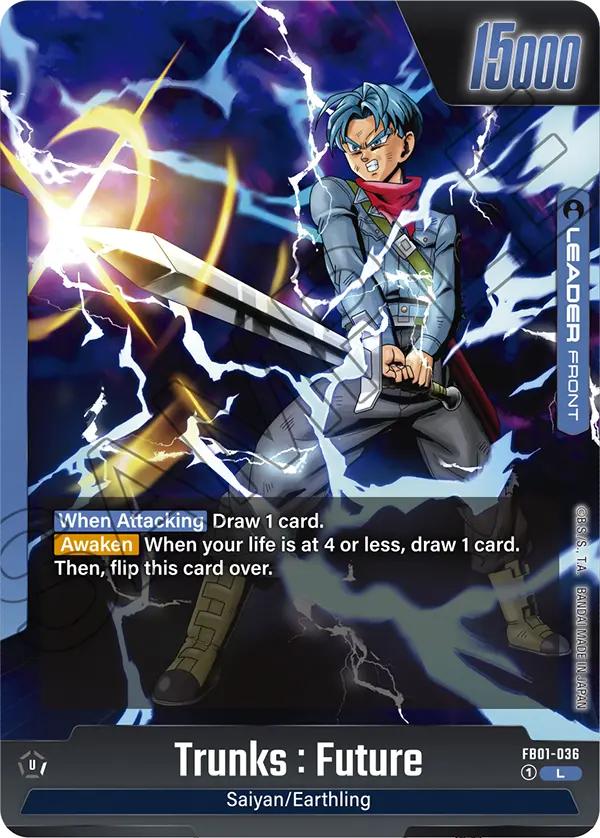
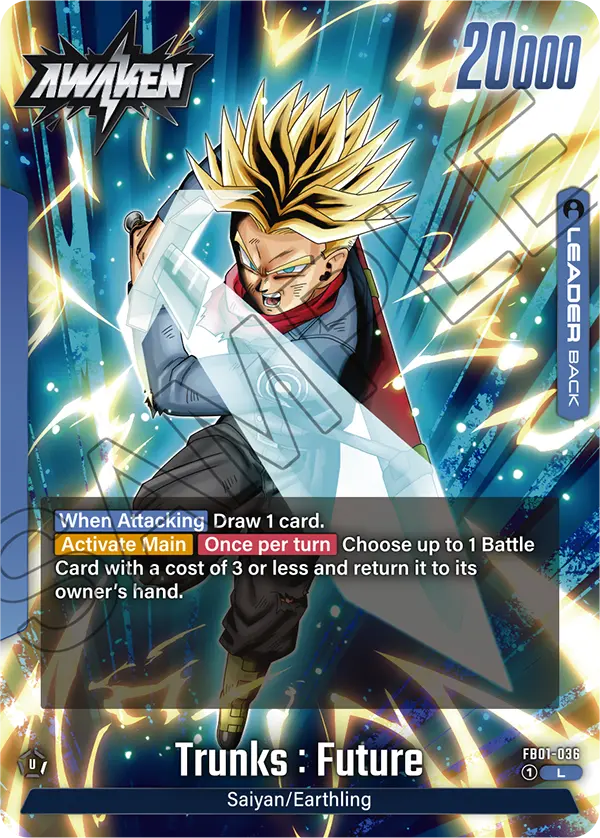
This doesn't always mean rushing recklessly to force the Awakening trigger before you're ready — sometimes the correct play is slowing your own aggression slightly to avoid handing them the exact condition they need. But it does mean you should always know where that threshold is and factor it into every attack you make, rather than attacking on autopilot and discovering the Leader has flipped only after it already has.
Our Leader Awakening guide breaks down what changes once a Leader flips by color — reviewing your specific opponent's Leader identity before the game, or as early as possible once you see it, is worth the time.
Don't Overextend Into a Stabilized Board
Once a control deck has its defensive pieces in play and its Leader has Awakened, committing your entire hand to force through damage is often the exact mistake the deck is built to punish. A board wipe, a wave of defensive Battle Cards, or an efficient counter-attack can turn an overextended board into a bigger problem than the one you were trying to solve.
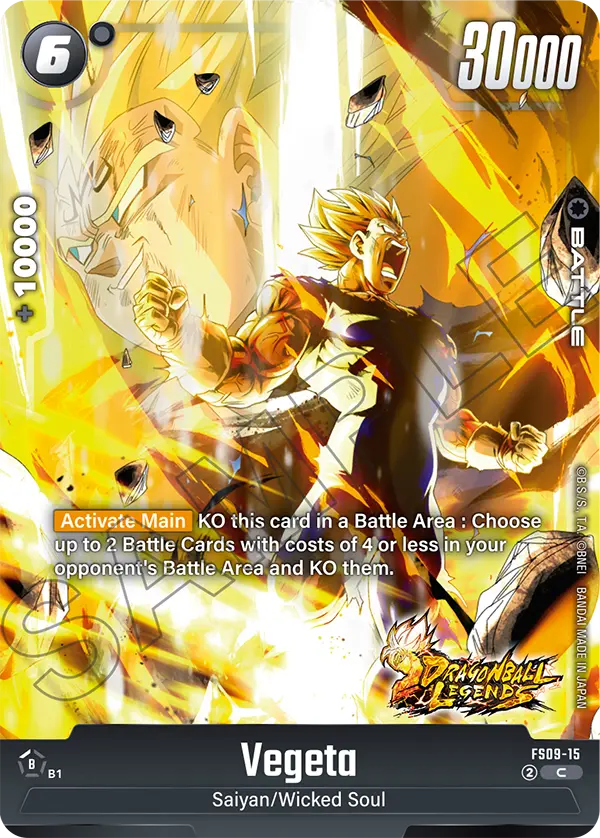
Commit only what you need to keep the pressure on. If two attackers are enough to keep the clock moving, a third that isn't necessary is a card you're risking for no real gain — and against a deck built to punish overcommitment, that's a genuinely costly habit.
This is the same discipline that applies against control decks in most card games: play to the threat in front of you, not to the biggest board you're capable of building.
The specific trap to watch for in Fusion World is committing extra Battle Cards after a successful early push has already cleared the board. A clear opposing board feels like an invitation to flood your own side with threats, but against control that empty board is often a deliberate play — they've traded their early resources for time, and they're waiting for you to overcommit into the window where their Leader Awakens or their high-cost defensive pieces come online. If your existing attackers are already forcing life damage each turn, resist the urge to dump your hand just because you can. The cards you hold back are insurance against the stabilization turn that's coming, and they represent options you'll need later far more than redundant attackers you need now. Disciplined board commitment is the single most common difference between players who can beat control and players who consistently lose after strong starts.
Plan Your Win Condition Before You Need It
The single biggest structural fix to losing games you were ahead in is having an actual plan for how the game ends before you're deep into it. That might be a specific Leader ability, a Battle Card combination, or simply a big enough board that the control deck can't answer everything at once — but it needs to be a plan you're building toward from the early turns, not something you figure out once your lead starts slipping.
Ask yourself early: if this game goes another five turns exactly as it's going now, do I actually win? If the honest answer is no, that's the signal to change your sequencing rather than continuing to play the same way and hoping the lead holds.
In practical terms, your win condition against control usually falls into one of two categories: sustained pressure that forces them to spend more resources answering threats than they gain per turn, or a single explosive turn — often a big Combo turn — that deals enough damage to close the game before they can respond. Know which category your deck is built for. Sustained-pressure decks need to pace their threats carefully across multiple turns, deploying just enough to keep the clock ticking without overextending into a board wipe. Explosive-finish decks need to sandbag their key combo pieces until the opponent's Energy and hand are both depleted enough that the finishing turn can't be answered. Playing the wrong closing pattern for your deck type — pacing a deck that needs to explode, or going all-in with a deck that needs to grind — is a structural misplay that no amount of good individual decisions can recover from.
Reading Their Hand Size, Not Just Their Board
A control opponent's board can look unthreatening while their hand is doing all the actual work. Pay attention to how many cards they're holding and how much Energy they have available, not just what's currently in play — a control deck with a full hand and untapped Energy has far more defensive options than one that's already spent both.
Counting their cards in hand and tracking their Energy usage is a habit worth developing specifically for this matchup. If a control player has six cards in hand and full Energy, assume they can answer nearly anything you play — that's not the turn to commit your finisher. Wait for the turn where they've spent Energy on their own development and their hand is thinner from deploying defensive pieces, then push your heaviest threat through that window.

The best time to push your win condition through is when their hand and Energy are both low, not when their board looks clear. A clear board with a full hand behind it is often more dangerous than it looks — the real threat from a control deck is always in the cards you can't see, not the ones already on the table.
Closing Discipline
- Know how you plan to actually end the game before turn 4
- Commit only enough attackers to keep your clock moving — 2 is often enough
- Push your finisher when their hand AND Energy are both depleted
- Track their Leader's Awakening condition — close before it flips if possible
Lead-Wasting Mistakes
- Assuming an early lead means you're winning — control is built to survive exactly this
- Overextending into a stabilized board — you lose more than the damage you'd deal
- Judging their threat level by board state alone — their hand is the real danger
- Playing at the same pace once your lead starts slipping — adjust or lose
→ Mid-Game Gut Check
Ask yourself every turn from turn 4 onward: "If this game goes another five turns exactly as it's going right now, do I actually win?" If the answer is no, that's your signal to change your sequencing — not to push harder, but to push smarter. An early lead that you don't convert is a lead that control will take back.
FAQ
- Should I always try to prevent my opponent's Leader from Awakening? Not always — sometimes preventing it costs you more than playing around it does. Know the trigger condition and make a deliberate choice rather than reflexively racing to stop it every time.
- Why do I keep losing games I was clearly ahead in? This is almost always a closing-plan problem, not a power-level problem. If you don't have a specific plan to end the game while ahead, control decks are built to use that time to stabilize and take the game back.
- How many attackers should I commit per turn against control? Only as many as you need to keep your clock moving. Extra commitment beyond that is risk without proportional reward against a deck built to punish overextension.
- What's the single most important thing to track against control? Their hand size and available Energy, alongside their Leader's Awakening condition. Board state alone is misleading against a deck whose real resources are often held in hand.
An Early Lead Is a Resource, Not a Result.
Control decks in Fusion World are built to survive exactly the early lead you're likely to have against them — the real skill in this matchup is converting that lead into a finished game before their Leader Awakens and their defensive pieces stabilize the board. Commit only what you need, track their hand size and Energy over their board state, and always know what your actual plan to end the game is.
Beating control's early game is the easy part. Closing before it recovers is the actual matchup.
Keep Studying
- → Leader Awakening by Color
- → Beating Aggro in Fusion World: Anti-Red Tech
- → The Fusion World Mulligan & Mind-Games Guide
- → DBS Fusion World Strategy Hub (2026)
© GEEKYDOMAIN.COM | Strategy Powered by Data