

Every card you play costs Energy, and every Energy card you place is a card you can't draw into later. Managing that tension well is the difference between flooding the board and stalling out.
Dragon Ball Super Fusion World runs on a resource system that should feel familiar to anyone who's played a land-based or ink-based card game: each turn, during your Charge Phase, you can place a card from your hand into your Energy Area to fund the cards you actually want to play. If you're still learning the basics, our how to play guide covers the full rules — this article assumes you know how a turn works. Energy is simple to explain and genuinely difficult to optimize, because every card you commit to Energy is a card permanently removed from your hand and your draws for the rest of the game.
New players tend to treat Energy management as a background mechanic — something that just happens each turn — rather than an active strategic decision. Experienced pilots know better. How aggressively you build your Energy Area, which cards you sacrifice to it, and when you start holding back all shape whether your deck curves out smoothly or stumbles into a turn where you're holding cards you can't afford to play.
This guide breaks down how to think about Energy as a resource, not just a chore, and how to sequence your turns so your curve actually works the way your decklist intends.
→ Short Version
Every card placed into your Energy Area is a card you'll never draw again — Energy isn't free, it's an opportunity cost. Build Energy aggressively early so your later turns aren't capped by an underdeveloped Energy Area. Sacrifice your weakest playable cards to Energy, not cards that are still live options for your curve. Remember your Energy Area is public — cards go in face-up, so your opponent sees exactly what you banked. Watch your hand size — running out of cards to commit to Energy while still needing more resources is a common way games slip away.
→ Related Reading
In This Guide
How the Energy Area Actually Works
Each turn, during your Charge Phase, you have the option to take a card from your hand and place it into your Energy Area — face-up, in Active Mode, turned upside-down to distinguish it from your other cards. That card stops being a playable card and becomes part of your resource base instead: you'll switch Energy cards to Rest Mode to pay the cost of the Battle and Extra cards you actually want to put into play.
This is the same fundamental structure as a land drop in Magic or an ink card in Lorcana: a steady resource that grows by one increment per turn, assuming you commit a card every turn, gating how much you can do as the game progresses. Two details separate Fusion World from those comparisons, and both matter strategically. There's no cap on how many cards your Energy Area can hold — it grows as long as you keep feeding it. And unlike a Lorcana inkwell, your Energy Area is an open area: cards go in face-up, and either player can look through them at any time.
Understanding that tradeoff is the entire foundation of good Energy management. You're never just "playing a land." You're choosing which card in your hand is least valuable as a played effect, feeding that one to your resource base, and showing your opponent exactly which card you chose.
How aggressively you build Energy also depends on your color identity, and each of the five colors handles its curve differently. Red decks typically want a fast, low-cost curve — bank hard early, deploy multiple cheap Battle Cards per turn, and end the game before your opponent's bigger plays come online. Blue and Green decks tend toward higher-cost payoffs that reward patient Energy development — you need more total Energy to execute your game plan, so consistent banking matters even more. Yellow occupies a flexible middle ground, while Black's disruptive tools can punish opponents who over-commit to either extreme.
The Real Cost of Energy
Because cards committed to your Energy Area don't come back, every one represents real opportunity cost. A card you bank early in the game might have become an excellent play later — but you needed the Energy more than you needed that specific option, so you traded it away.
This is why falling behind on Energy development is so punishing. If you skip a turn without adding to your Energy Area — holding everything in hand because nothing feels worth sacrificing — you'll find yourself a turn behind on every subsequent play for the rest of the game. The player who banked consistently will simply be able to do more, turn after turn, while you're still catching up.
The correct mental model isn't "Energy is a cost I pay." It's "Energy is the foundation my entire game plan rests on, and I'm choosing which card is the foundation today."
Falling Behind Compounds
Missing one turn of Energy development doesn't just cost you that turn — it pushes every subsequent play one turn later than your opponent's, for the rest of the game. In a format where tempo and board presence matter as much as raw card power, one skipped Energy drop can be the difference between contesting the board and falling permanently behind.
Your Energy Area Is Public Information
This is the part most guides skip, and it changes how you should think about banking. Your Energy Area is an open zone under the official rules — cards are placed face-up and either player may look through them at any point in the game. Your opponent doesn't just see how much Energy you have. They see which cards you gave up to get it.
That's a real information leak, and it cuts in both directions. If you bank your only removal spell, an observant opponent now knows your hand has no answer and can commit their key threat freely. If you bank a copy of a card that's already on your board, you've told them your deck runs multiples. If your Energy Area is stuffed with expensive top-end, you've advertised that you kept the cheap stuff and intend to curve out fast.
The flip side is that you get the same read on them. Before you commit to a line, look through your opponent's Energy Area — it's a legal, free scouting report on what they were willing to throw away, which is often the clearest signal you'll get about what their hand is actually holding. Few players remember to do this, and it's one of the cheapest edges available in the game.
What to Bank vs What to Play
Once you accept that every Energy card is a sacrificed option, the next question is which card to sacrifice. A few principles guide that decision:
- Bank your highest-cost, least-flexible cards first. A card that's only good in a very specific board state, or that costs more than you'll reliably be able to pay for several turns, is a strong Energy candidate. You're not losing much by removing it from your hand if it wasn't going to be live for a while anyway.
- Don't bank your curve-fillers. Cheap, efficient cards that you want to play every single game are exactly the cards you should be holding onto, not feeding to Energy. If you bank your cheap plays and keep your expensive ones, you'll end up with a hand full of cards you can't afford yet.
- Consider redundancy. If your hand has two copies of a similar effect, banking the extra copy costs you less than banking your only copy of a unique effect. Redundant cards are the cheapest Energy fuel in your hand — just remember the face-up Energy Area tells your opponent you're running multiples.
- Late-game, evaluate every card relative to your actual win condition. Once you're deep into a game and your hand is thinning out, a card that doesn't directly advance your win condition is a better Energy candidate than one that does — even if it looked strong earlier.
| Card in Hand | Bank It? | Why |
|---|---|---|
| Duplicate of a card already in play | Yes — ideal Energy fodder | Redundant copy costs you nothing real |
| High-cost card you can't play for 3+ turns | Usually yes | Dead in hand now; may draw another before it's live |
| Cheap curve-filler you'll play this turn | No — play it | Establishes board presence; bank something else |
| Your only removal / interaction | No — hold it | Losing your only answer is worse than a slower Energy turn — and banking it face-up announces you have none |
| Situational card unlikely to matter this game | Yes | Low probability of use; better as fuel than a dead card |
Curving Out: Building Toward Your Plan
"Curving out" means having a playable, cost-appropriate card for every turn of the game — never sitting on unused Energy because your hand doesn't have anything affordable, and never holding a hand full of expensive cards you can't yet cast. A deck that curves out well feels like it's always doing something; one that doesn't feels like it's constantly either flooded or starved.
Good curving requires planning a few turns ahead, not just reacting to what's in your hand right now. If you know you're going to want a specific high-cost play in two or three turns, start banking toward that total now rather than waiting until the turn you actually want to cast it — by then it may be too late to catch up.
It also means recognizing when you're ahead of your curve (more Energy than you currently need) versus behind it (cards in hand you can't afford). When you're ahead, that's the moment to consider playing a card slightly above your curve's expected cost to use the surplus efficiently rather than letting it go to waste.
How Different Leaders Shape Your Curve
Your Leader choice fundamentally changes what "curving out well" looks like. Worth noting before the examples below: most of the marquee characters have multiple Leader cards across different colors and sets, so treat these as archetype illustrations and check the specific card in front of you rather than assuming a character always plays one way.
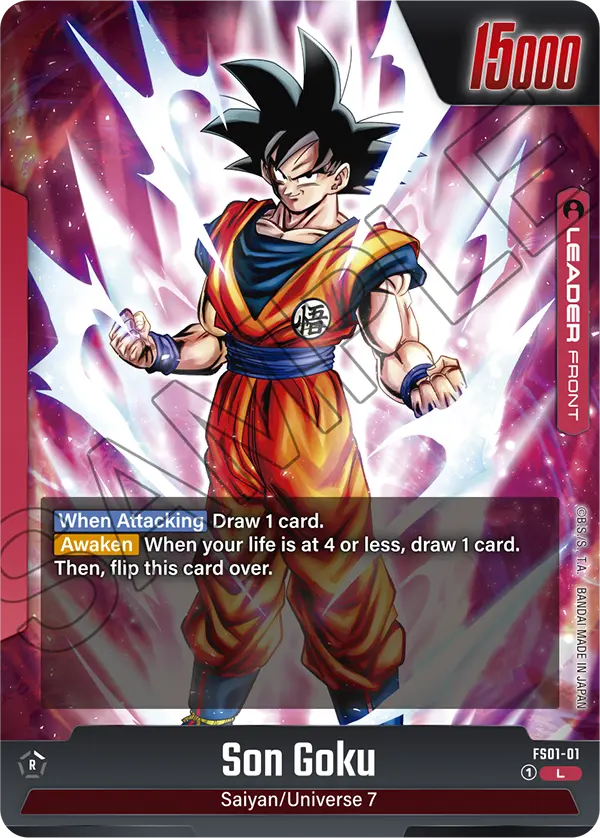
An aggressive Leader build — the kind of fast Red Son Goku list most players picture — wants to deploy cheap Battle Cards quickly and push damage early. That means banking aggressively on the first couple of turns so you can deploy multiple cards per turn shortly after, keeping relentless pressure on your opponent's life total. Skipping an Energy drop to hold a situational card is more costly here, because tempo lost early is almost never recovered in an aggro gameplan.
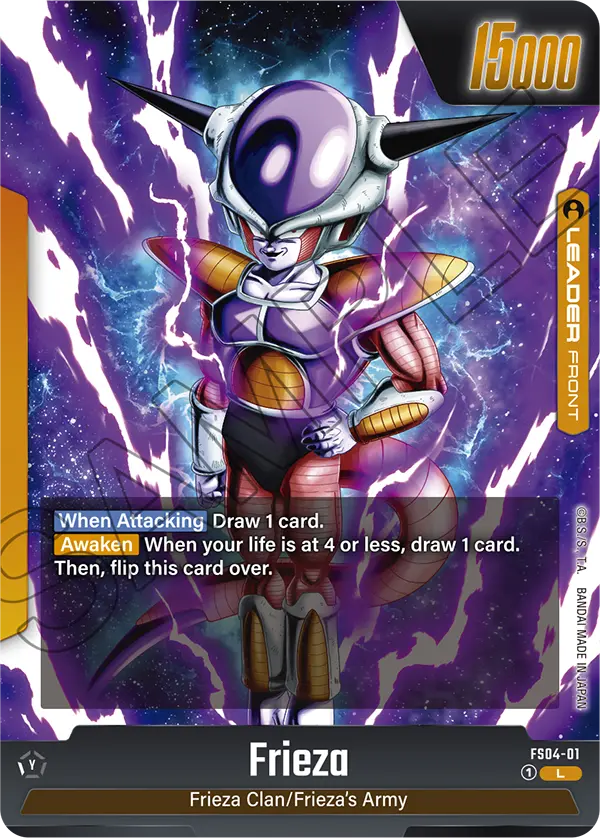
A control-oriented Leader — a Frieza build leaning on removal and card advantage, for instance — has more breathing room on early turns. You're looking to survive the early rush, build a larger Energy Area, and deploy high-cost finishers that close the game from a position of advantage. Here, banking consistently matters even more, because your payoff cards cost significantly more than an aggro deck's curve-toppers, and falling one Energy behind can delay your entire late-game plan by a full turn.
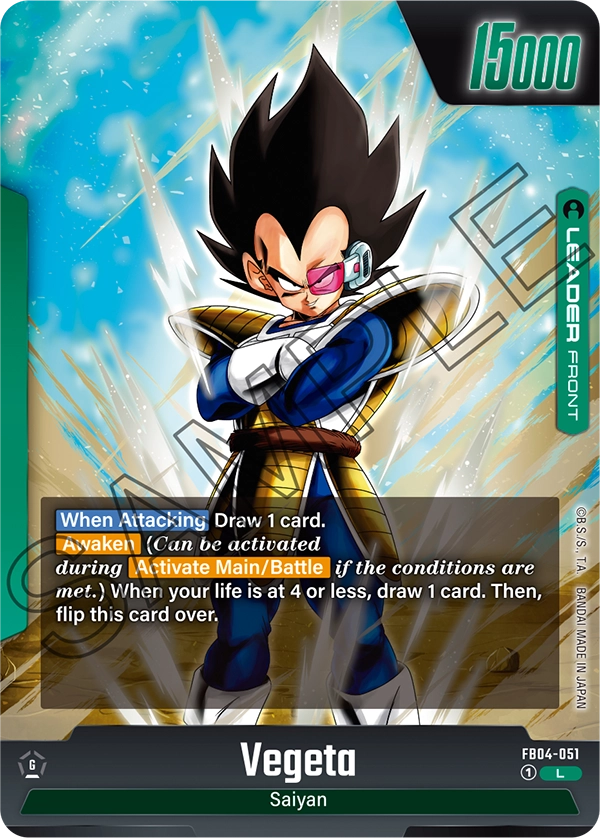
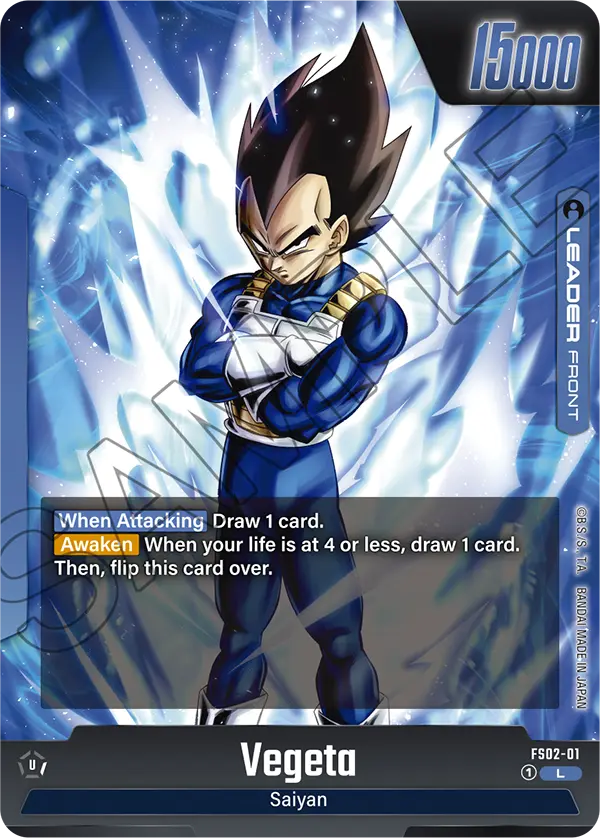
Characters like Vegeta, who anchor both aggressive and midrange lists depending on the build and color, highlight exactly why your deckbuilding has to match your curve plan: the same character can front a fast, low-curve list or a slower, resource-heavy one, but the Energy management changes completely based on which direction you build.
Deckbuilding for a Healthy Curve
Energy management starts at deckbuilding, not at the table. A deck with too many expensive cards and not enough cheap ones will struggle to develop its Energy Area without sacrificing cards it actually wants to cast — there's nothing "free" to bank. A deck with too many cheap cards and not enough payoffs will curve out smoothly but lack a way to close games. Our combo system guide covers how Combo Power interacts with the cards you keep vs bank — a real tension, since every card held for Combo is a card not funding your Energy Area.
- Include genuine "Energy fodder." A handful of situational or narrow-use cards in your deck aren't dead weight — they're cards you're comfortable banking without regret, which keeps your Energy development smooth without costing you real game plan.
- Don't overload on top-end. A deck with too many high-cost finishers and no cheap, bankable filler will force you to choose between developing Energy and holding your win conditions — a choice you shouldn't have to make turn after turn.
This is the same underlying principle behind building around your Leader's color identity — a coherent game plan needs a coherent cost distribution to support it, not just powerful individual cards.
Awakening Changes Your Energy Needs Mid-Game
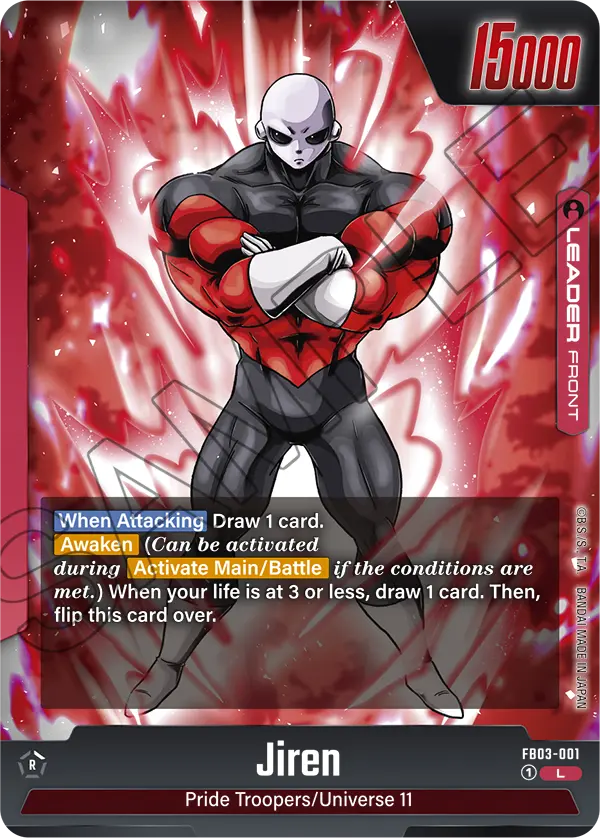
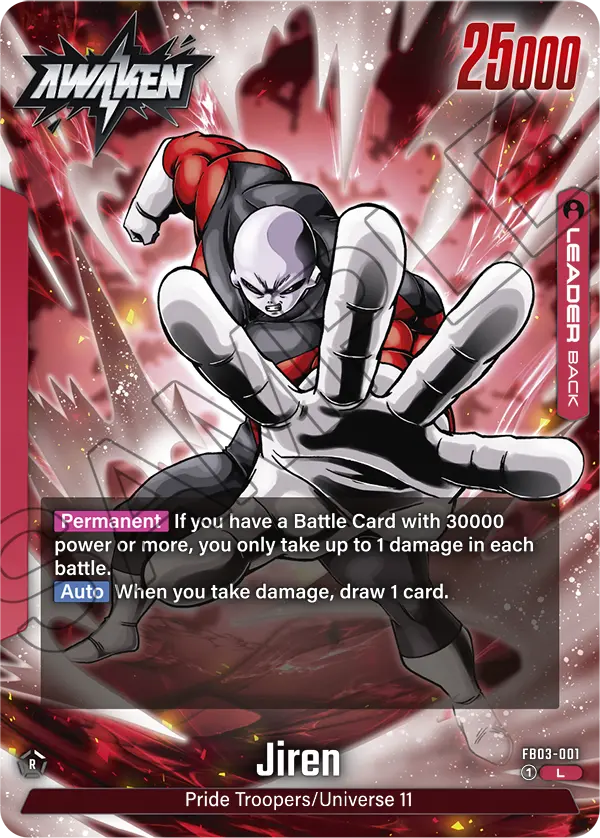
When your Leader awakens — after your life total has dropped far enough to meet the threshold — their abilities change, and so does your Energy plan. An awakened Leader often unlocks stronger effects that cost more to support with follow-up plays. If you haven't been banking Energy consistently, you'll awaken into a more powerful Leader and immediately stall, because your Energy Area can't fund the cards that capitalise on the awakened state. Build your Energy as if awakening is coming, because it usually is.
Common Energy Mistakes
Skipping an Energy drop to "save" a good card.
Holding back on Energy development because every card in hand feels too valuable to bank usually backfires. Falling behind on your resource base costs you more in the long run than the value of whichever card you were trying to protect.
Banking your only answer to a key threat.
Before committing a card to Energy, double-check it's not your only out to something your opponent is clearly building toward. A removal-light hand that banks its one piece of interaction can find itself with no way to deal with a critical threat later — and because Energy is face-up, your opponent may well have noticed.
Never looking through your opponent's Energy Area.
It's an open zone and you're allowed to check it at any time. What your opponent was willing to throw away is free information about what they kept, and most players never bother to look.
Building a deck with no cheap cards to bank comfortably.
If every card in your deck feels essential, you'll constantly be forced into hard choices at the Energy step. A healthy curve includes some genuinely expendable cards specifically so your Energy development doesn't cost you real strategic options.
FAQ
Should I always place a card into Energy every turn?
In the vast majority of games, yes — skipping Energy development without a very specific reason puts you behind for the rest of the game. The exceptions are rare, usually late-game situations where your Energy is already sufficient for everything left in your hand.
Is there a limit to how much Energy I can have?
No — the rules place no cap on the number of cards in an Energy Area. The practical limit is your hand: you can only bank what you're willing to give up, and each card you commit is one you'll never draw again.
Can my opponent see what I put in my Energy Area?
Yes. Energy cards are placed face-up in an open area, and either player can look through either Energy Area at any point. Factor that into what you bank — and remember you can scout theirs the same way.
How do I know if my deck's curve is healthy?
Test it in practice games — our mulligan guide covers how to evaluate opening hands — and track whether you're regularly stuck with unplayable hands, either too many expensive cards with nothing to bank, or too many cheap cards with no way to close. Adjust your cost distribution based on what actually happens, not just theory.
How does Energy management interact with Leader Awakening?
Your Energy development pace directly affects how quickly you can support an awakened Leader's higher-cost abilities and follow-up plays. See our Leader Awakening guide for how the two systems work together.
Every Card Is a Choice, Even the Ones You Don't Play.
Energy management is one of the most overlooked skill gaps between new and experienced Fusion World pilots. It's not a passive step you click through — it's an active decision every single turn about which card matters most to your plan and which one is worth more as fuel. Get good at making that call quickly and correctly, and the rest of your game speeds up with it.
Build your deck with a healthy curve so the decision is rarely agonizing, bank consistently so you never fall behind on tempo, remember that everything you bank is face-up for your opponent to read, and always double-check you're not feeding your only answer to a threat into the Energy Area. Do that, and your deck will curve out the way it's supposed to almost every game.
© GEEKYDOMAIN.COM | Strategy Powered by Data