

Sacrifice & Aristocrats: How the Engine Works
A plain-language breakdown of the outlets, fodder, and payoffs that make one of Commander's favorite archetypes tick.
Some links below are affiliate links. If you buy through them, Geeky Domain may earn a small commission at no extra cost to you.
Every Aristocrats deck runs on the same idea: your creatures are worth more dead than alive. A 1/1 token chumps a blocker, dies, and suddenly you've drained an opponent for a point of life, drawn a card, or conjured a Treasure from nothing. Repeat that a few times in one turn and a board that looked harmless has quietly closed out the game.
If you've watched a Commander game where a player sacrificed most of their board and somehow came out ahead, you were watching this archetype in action. It isn't a single card or a single combo — it's three interlocking pieces that look unremarkable alone but, together, turn every creature death on the battlefield into a resource for you.
This guide covers what those three pieces are, how real, widely-played cards fill each role, and how to assemble them into a deck that functions — plus the mistakes that trip up new Aristocrats players most often. For the wider strategy picture, start with our MTG Strategy Hub.
The Short Version
Aristocrats decks combine three roles: sacrifice outlets that kill your own creatures on demand (Viscera Seer, Ashnod's Altar), fodder generators that refill your board with cheap or free creatures (Bitterblossom), and death-trigger payoffs that convert every death into life loss, card draw, or mana (Blood Artist, Zulaport Cutthroat, Midnight Reaper, Pitiless Plunderer). None of the three does much alone — the archetype only works when all three are on the battlefield at once, which is why ratios matter more here than in most other Commander strategies.
In This Guide
- → What Is the Aristocrats Archetype?
- → The Three Pillars: Outlets, Fodder, Payoffs
- → Sacrifice Outlets: Turning Creatures Into Value
- → Fodder: Giving Yourself Something to Sacrifice
- → Death-Trigger Payoffs: Where the Damage Comes From
- → Building the Engine: Putting It All Together
- → Common Mistakes When Building Aristocrats
- → FAQ & Quick Reference
What Is the Aristocrats Archetype?
Aristocrats is one of the most recognized deck archetypes in Magic: The Gathering, covered by resources like EDHREC's own guide to the strategy plus Draftsim, TappedOut, and CoolStuffInc. The name comes from two specific cards, Cartel Aristocrat and Falkenrath Aristocrat, both of which reward sacrificing creatures to them. Those two cards aren't the whole archetype, but the community adopted "Aristocrats" as the catch-all name for any strategy built around sacrificing your own creatures for value.
At its core, the archetype answers a question every Magic player asks: what if my creature dying wasn't a loss? Aristocrats decks build a support structure around that inevitability so every death — chosen or forced — pays you back.
Blood Artist is the single most iconic card associated with the strategy, and it's a useful starting point for understanding what a "payoff" does. It's a cheap black creature that watches for any creature dying, not just its controller's creatures, and turns that death into a life swing.

Blood Artist was originally printed in Avacyn Restored and has been reprinted heavily since, in Jumpstart, Innistrad Remastered, a Secret Lair Drop, and multiple Commander preconstructed decks. If you only remember one card from this guide, remember this one; almost every other payoff below is a variation on the same idea. That kind of ubiquity is common for staples that show up across our list of the best Commander precons of all time.
The Three Pillars: Outlets, Fodder, Payoffs
Every Aristocrats deck, no matter how it's built or what colors it splashes into, is really just three overlapping categories of card working together — a small machine with three moving parts.
Sacrifice outlets are the cards that let you kill your own creatures on purpose, usually as an activated ability you can use at will. Fodder is anything that gives you a steady supply of creatures worth sacrificing — ideally cheap, recurring, or replaced by a token the moment it dies. Payoffs watch for creatures dying and convert that event into something useful: life loss, card draw, or extra mana.
In an Aristocrats deck, a creature dying isn't the end of its turn — it's the start of yours.
It's worth separating these roles explicitly because a lot of new players build decks heavy on one pillar and thin on the other two. A deck stuffed with payoffs but no reliable way to make creatures die is just a pile of expensive do-nothing creatures. A deck with plenty of outlets but nothing worth sacrificing runs out of gas after a few turns. The archetype only clicks once all three pillars are represented in reasonable numbers, which is exactly what the next three sections cover.
The staples that make an Aristocrats shell hum are cheap and everywhere; here is where to start looking.
As an Amazon Associate, Geeky Domain earns from qualifying purchases. eBay links are affiliate links; Geeky Domain may earn a commission at no extra cost to you.
Sacrifice Outlets: Turning Creatures Into Value
A sacrifice outlet is any card with an activated ability that costs "sacrifice a creature." The ability doesn't need to be flashy — the outlet's whole job is repeatability. You want to sacrifice creatures as often as you have creatures to spare, ideally for free, so your payoffs trigger as many times as possible in a turn.
Viscera Seer is the textbook cheap outlet. For a single black mana you get a 1/1 body that can sacrifice any creature — including itself — to scry 1. It doesn't tap and has no mana cost beyond the sacrifice, so it can be activated in response to removal aimed at your own board — a small but genuinely useful trick.

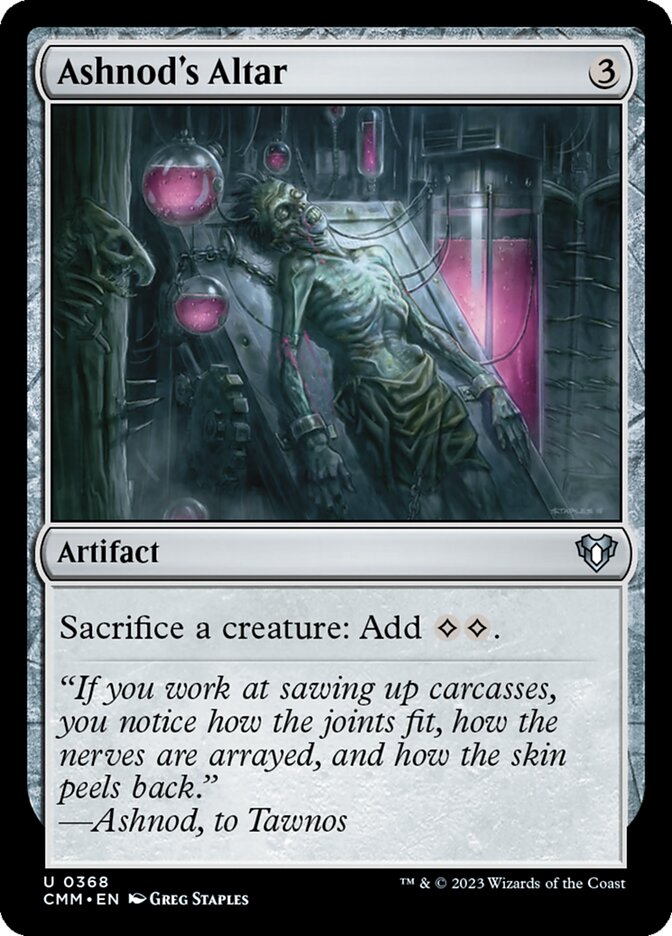
Ashnod's Altar takes the same idea and adds a mana engine to it. For three mana up front, you get an artifact that turns any creature into two colorless mana on demand, with no limit on activations per turn. Combined with a wide board of small tokens, it can convert an entire army into a burst of mana in one turn — mana that can go toward casting more threats or activating other abilities.
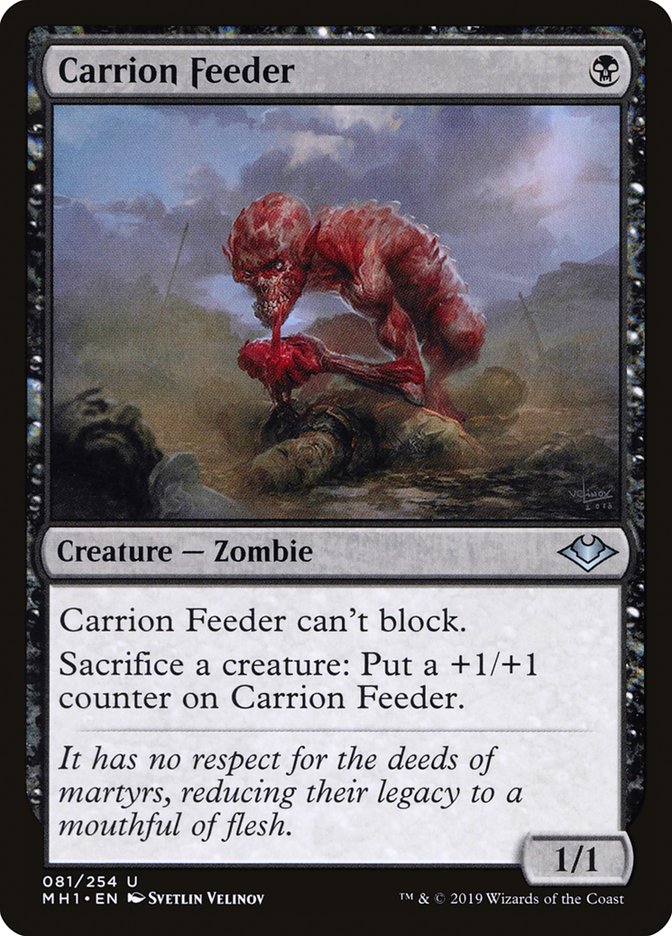
Carrion Feeder shows a third flavor of outlet: one that rewards you directly, on top of whatever your payoffs are doing. It's a one-mana Zombie that can't block, but every creature you feed it grows it by a permanent +1/+1 counter. Sacrifice a few small tokens into it over a game and you've got a genuine threat that started as a throwaway one-drop.
Here's how those three stack up side by side:
| Card | Cost | What It Does |
|---|---|---|
| Viscera Seer | {B} | Sacrifice a creature: Scry 1. Can sacrifice itself. |
| Ashnod's Altar | {3} | Sacrifice a creature: Add {C}{C}. |
| Carrion Feeder | {B} | Sacrifice a creature: Put a +1/+1 counter on Carrion Feeder. Can't block. |
None of these three is a payoff by itself — they're utilities. Their value is unlocked by what you feed them and what's watching the board when they trigger.
Fodder: Giving Yourself Something to Sacrifice
Outlets and payoffs are both useless without a steady supply of creatures to feed the machine. This pillar is easiest to overlook when assembling a decklist, because token generators don't look as exciting as the cards doing the actual "work." But a deck that runs out of fodder is a deck that stops functioning, no matter how good its outlets and payoffs are.
The best fodder sources keep producing creatures on their own, turn after turn. Bitterblossom is a great example: an enchantment that, every upkeep, costs you 1 life and hands you a 1/1 flying Faerie token in return. That same token-generation instinct is the backbone of our going-wide token swarm strategy guide, if you'd rather lean into board width than sacrifice value.
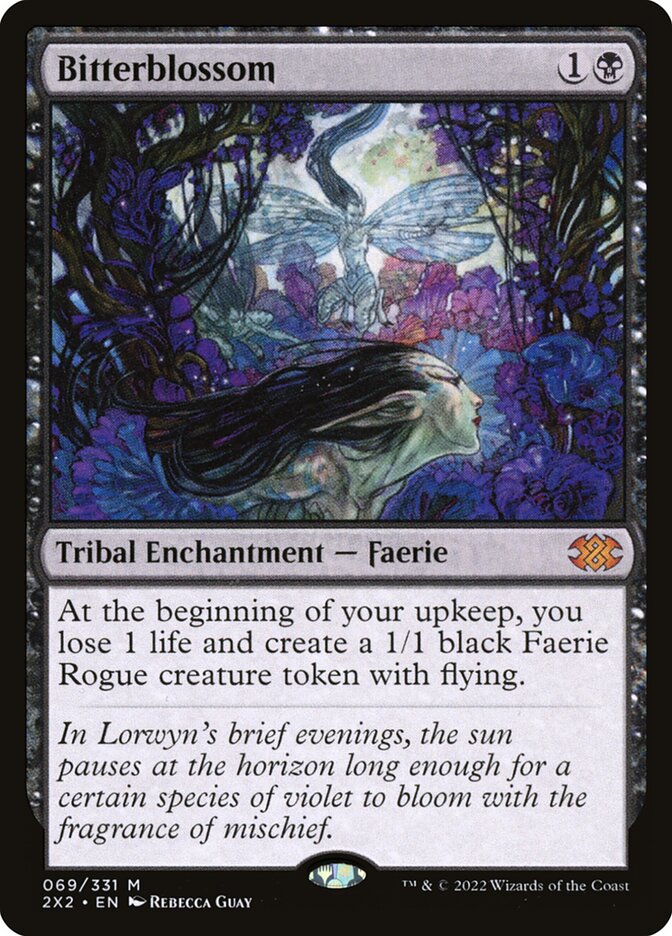
That's a card advantage engine on its own, but pair it with an Aristocrats shell and it becomes something else entirely: a free creature every turn that exists purely to be thrown into your sacrifice outlet, triggering every payoff on the battlefield along the way. The life you pay to make the token is often trivial next to the life you drain back from an opponent when you sacrifice it.
Not all fodder needs to come from a repeatable engine, though a repeatable source is always strongest since it doesn't run out. Any cheap creature you're willing to part with counts as fodder in a pinch — the goal is making sure your outlets are never idle for lack of something to feed them.
Death-Trigger Payoffs: Where the Damage Comes From
Payoffs are the reason the whole engine exists. They sit on the battlefield with a triggered ability that watches for creatures dying and converts each death into something you actually want: drained life, a card in hand, or free mana. Stack two or three at once and a single big sacrifice turn can end a game outright.
Zulaport Cutthroat works almost identically to Blood Artist, with one key difference: it only cares about creatures you control dying, but in exchange it hits every opponent at once rather than a single target — a wide sacrifice turn with it on board can drain an entire table simultaneously.

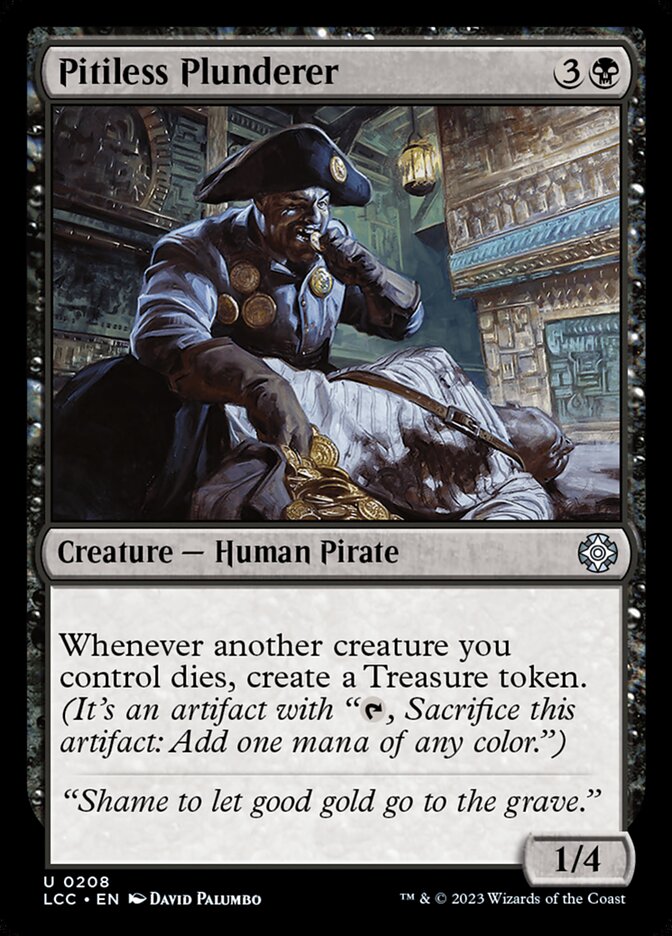
Pitiless Plunderer takes the payoff in a different direction: instead of draining life, it hands you a Treasure token every time another creature you control dies. That Treasure cracks for a mana of any color, so it's quietly fixing your mana and ramping you at the same time it's rewarding your sacrifices — useful for casting something expensive right after a big sacrifice turn.
Midnight Reaper covers the third major category of payoff: card advantage. Every time a nontoken creature you control dies, it deals you 1 damage and lets you draw a card. The "nontoken" restriction matters — it won't trigger off Bitterblossom tokens or other token fodder, only off actual creature cards dying, making it a different tool than the drain-based payoffs above.
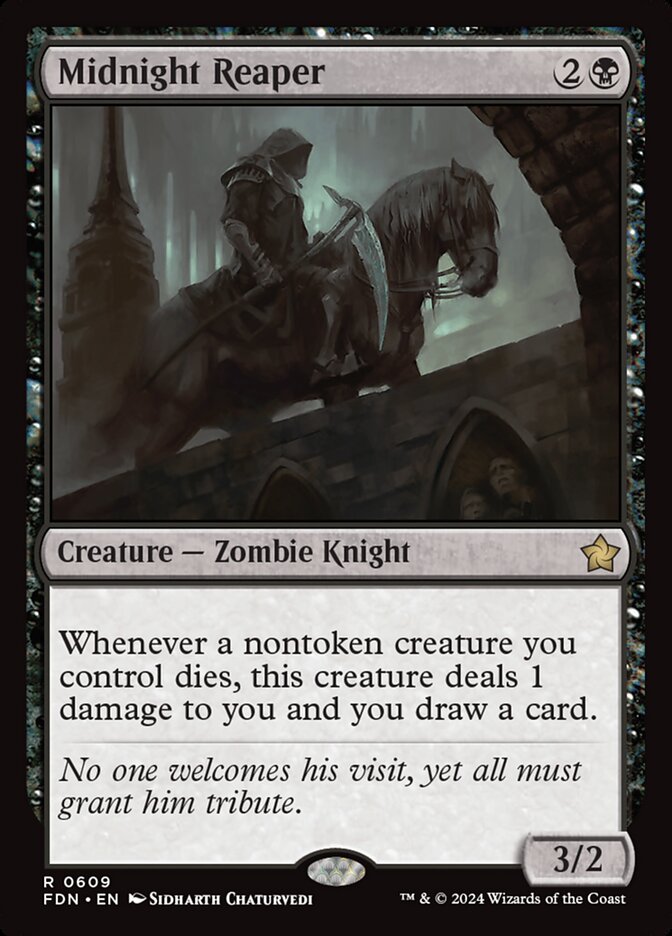
Here's a side-by-side look at how these four payoffs differ:
| Card | Cost | Trigger | Resource Gained |
|---|---|---|---|
| Blood Artist | {1}{B} | Any creature dies | Drain 1 (target player) |
| Zulaport Cutthroat | {1}{B} | Your creature dies | Drain 1 (each opponent) |
| Pitiless Plunderer | {3}{B} | Another creature you control dies | Treasure token |
| Midnight Reaper | {2}{B} | Your nontoken creature dies | Draw a card (1 damage to you) |
A well-built deck usually mixes these payoff types rather than running four copies of the same effect. Drain closes out games, Treasure generation keeps your curve moving, and card draw keeps your hand from running empty — and having more than one type out at once means a single sacrifice turn does multiple jobs simultaneously.
Building the Engine: Putting It All Together
Once you understand the three pillars, deckbuilding becomes mostly a matter of ratio: a handful of reliable outlets, a healthy dose of fodder (especially the repeatable kind), and several payoffs spread across drain, treasure, and card-draw is usually enough to make the engine hum. Most of the cards needed to do this are affordable — see our list of budget Commander staples under $5.
What matters more than raw card count is sequencing. Get outlets and payoffs on the battlefield before committing to a big sacrifice turn, not after — sacrificing your board with no payoffs out is just losing creatures for nothing. Slow-rolling a turn to get payoffs established first is almost always correct, even when it's tempting to sacrifice the moment you draw an outlet.
Watch out: a board full of payoffs and zero fodder is a common trap. If opponents see you have payoffs and nothing worth sacrificing, they'll simply remove your outlets before you combine everything into a turn. Prioritize resilience — redundant fodder and more than one outlet — over stacking payoffs you may never get to use.
Aristocrats decks also benefit from removal and combat, not just their own sacrifice effects. Payoffs like Blood Artist and Zulaport Cutthroat trigger no matter how the creature died, not just ones sacrificed on purpose — a creature that trades in combat or dies to removal is still doing useful work. That passive value makes the archetype resilient in grindy multiplayer games.
Common Mistakes When Building Aristocrats
Loading up on payoffs before securing outlets and fodder. Payoffs are the flashiest cards in the archetype, so it's easy to over-draft them. But a payoff does nothing with no deaths happening — spend your early budget on outlets and fodder first, and add payoffs once the foundation is solid. Our $50 Commander deck blueprint walks through that kind of sequencing in more depth.
Relying on a single sacrifice outlet. If your only outlet gets removed, the whole deck stalls, even with a full hand of fodder and payoffs. Running multiple outlets at different mana costs protects you from one removal spell shutting the plan down.
Ignoring the mana curve. Because Aristocrats decks lean on small, cheap pieces working together rather than a few big splashy cards, it's tempting to undervalue curve planning. A deck top-heavy on expensive payoffs will struggle to get its fodder and outlets online in time.
Forgetting that fodder needs to be recurring, not just cheap. A hand full of one-mana creatures looks like fodder, but once sacrificed they're gone. A source like Bitterblossom that regenerates fodder every turn is worth far more than several creatures that only sacrifice once each.
FAQ & Quick Reference
Do I need all three pillars to make Aristocrats work? Yes. A deck missing any one of outlets, fodder, or payoffs will run out of creatures to sacrifice, have no way to sacrifice them, or sacrifice for no benefit. The strategy is specifically about combining all three.
What color is the archetype usually built in? Black is the backbone, since most of the classic outlets and payoffs — Blood Artist, Zulaport Cutthroat, Viscera Seer, Carrion Feeder, Midnight Reaper, and Pitiless Plunderer — are black cards. Many builds splash a second color for extra tokens or removal, but black is the common thread.
Is Ashnod's Altar better than a black-mana outlet like Viscera Seer? They serve different purposes. Ashnod's Altar turns your board into mana for chaining into more spells the same turn. Viscera Seer is nearly free and gives a small card-selection bonus instead. Many decks run both.
Can token creatures trigger payoffs like Midnight Reaper? Not always. Midnight Reaper only triggers off nontoken creatures dying, so token fodder from a source like Bitterblossom won't set it off. Blood Artist, Zulaport Cutthroat, and Pitiless Plunderer have no such restriction and trigger off any creature, tokens included.
Why is Blood Artist the signature card of the archetype? It's simple, cheap, and its effect is the archetype's thesis in miniature: any creature dying becomes a life swing in your favor. Its wide reprint history — from Avacyn Restored through Jumpstart, Innistrad Remastered, and multiple Commander products — reflects how often it's included.
Where does the archetype's name come from? It's named after Cartel Aristocrat and Falkenrath Aristocrat, two cards that reward sacrificing creatures to them. The name stuck long after those two cards stopped being the only way to build the strategy.
Every Death Is a Trigger Waiting to Happen.
Aristocrats rewards patience more than raw power — get your outlets and payoffs established, keep the fodder flowing, and let every creature death on the battlefield work in your favor.
© GEEKYDOMAIN.COM | Strategy Powered by Data