

Ramp vs Card Advantage: What to Prioritize
Two resources power every Commander deck — more mana, and more cards. Here's how they differ, how many of each to run, and the simple question that tells you which to prioritize.
Ramp and card advantage are the two engines underneath every good Commander deck. Ramp gives you more mana, so you can cast bigger spells and more of them per turn. Card advantage gives you more cards, so you always have something worth casting. Get both right and your deck hums; short one of them and you get the two most common "my deck didn't do anything" failures — a hand full of spells you can't afford, or all the mana in the world and nothing to spend it on.
New deckbuilders often treat these as interchangeable "good stuff" and jam a random mix. But they solve opposite problems, and which one your deck needs more of depends on what it's trying to do. A big-mana ramp deck and a low-curve value deck want very different ratios — and knowing which side to favor is one of the highest-leverage deckbuilding skills there is.
This guide explains what each resource actually does, how many of each to run, how they trade against your land count, and — most usefully — a simple diagnostic question that tells you which to prioritize for your deck. It's the strategic companion to our mana curve basics guide: curve tells you the shape of your deck, this tells you which resource fuels it.
The Short Version
Run roughly 8–12 ramp and 8–12 card draw in a typical ~37-land Commander deck — but treat card draw as the slightly more important of the two (most experienced players want at least 10 draw effects, because seeing more cards finds everything else). The decision rule for which to prioritize is one question: "Am I getting to cast the spells I want to?" If no — you're stuck unable to afford your hand, or missing land drops — add ramp. If yes — you cast fine but run out of gas — add card draw. Higher-curve, big-mana, and X-spell decks lean ramp; lower-curve and control decks lean draw. The two also trade against lands (roughly 2–3 ramp sources let you cut one land; heavy draw lets you run fewer lands). And the best cards do both at once — a ramp piece that replaces itself, or a creature that draws when it enters. Prioritize whatever helps you make your land drops and cast your spells; then balance.
→ More MTG Guides
In This Guide
Two Resources, Two Jobs
Start with what each actually does, because they're easy to blur together:
- Ramp = more mana, sooner. Mana rocks (Sol Ring, Arcane Signet), mana dorks, and land-fetch spells (Cultivate, Wood Elves) give you more mana than your one-land-per-turn baseline. Ramp lets you cast expensive spells ahead of schedule and play more than one spell a turn. It accelerates your game plan.
- Card advantage = more cards. Draw spells and value engines give you more cards than the one-per-turn baseline. Card advantage means you always have a relevant play, find your key pieces faster, and don't run out of gas in a long game. It fuels your options.

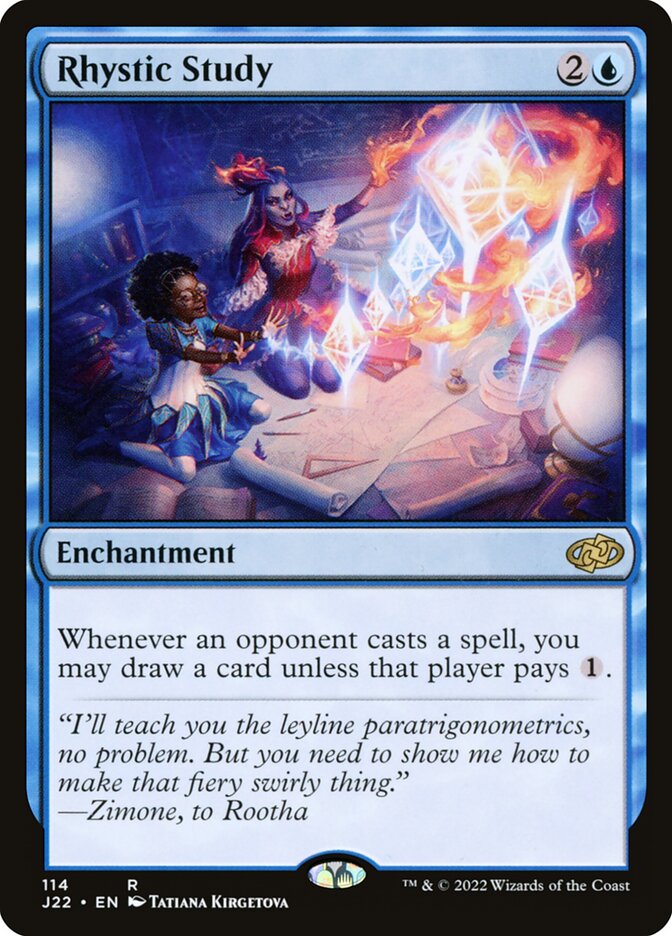
The tension between them is real and physical: mana is useless without cards to spend it on, and cards are useless without mana to cast them. A deck that's all ramp ends up with a huge mana pool and an empty hand — nothing to do with all that power. A deck that's all draw ends up holding a fistful of spells it can't afford — all options, no fuel. You need both, in balance.
The core tension:
Ramp without cards = mana you can't use.
Cards without ramp = spells you can't cast.
The art is balancing the two to what your deck is trying to do.
How Many of Each to Run
The consensus starting ratios for a balanced midrange Commander deck are remarkably consistent across the community:
| Resource | Starting count | Notes |
|---|---|---|
| Ramp | 8–12 | More for high-curve / big-mana; near-zero for fast low-curve decks |
| Card draw | 8–12 (aim 10+) | The most important category; rarely cut below ~10 |
| Lands | 36–38 | The base; adjusts with ramp, draw, and curve |
If you have to break the tie, lean toward card draw. It's widely regarded as the single most important category in Commander deckbuilding, because seeing more cards makes everything else in your deck more reliable — you find your ramp, your removal, your win conditions, and your answers faster. Most experienced players want at least ten dedicated draw effects, and many run more. Card draw has "gravity": it improves every other part of your deck.
Counting them together with your lands, you're aiming for roughly 43–50 total mana sources (lands + ramp) and a healthy draw package on top. These are starting points, not laws — the next sections are about adjusting them for your specific deck.
The One Question That Decides
Here's the single most useful diagnostic for which resource to prioritize, and it cuts through all the theory. After a few games with your deck, ask yourself:
"Am I Getting to Cast the Spells I Want To?"
If the answer is no — you're regularly stuck unable to afford the cards in your hand, missing land drops, or never reaching your expensive payoffs — you need more ramp. If the answer is yes — you cast your spells fine but keep running out of cards and topdecking by mid-game — you need more card draw. The tiebreaker, when it's unclear: prioritize whatever best helps you reliably make your land drops and hit your curve, because a deck that's hitting its mana on time can fix almost any other problem.
This is why playtesting beats theorizing. The "right" ratio isn't a fixed number — it's whatever stops the specific failure you keep experiencing. Goldfish a few hands or play a few games, notice whether you're more often mana-starved or card-starved, and add the resource that fixes the problem you actually have. Then re-test. The deck tells you what it wants.
Which Decks Want Which
Different strategies lean different directions by their nature. A rough guide:
- Lean ramp: high-curve, big-mana, and X-spell decks. If your deck wants to cast expensive bombs, hit two-spell turns, or pump huge X-spells, ramp is your priority — sometimes heavily (big-mana decks can run far more than 12 mana sources). You can't cast a 7-drop on time without acceleration.
- Lean draw: low-curve, control, and combo decks. A deck built mostly on cheap 1- and 2-drops barely needs ramp at all — you'd rather draw a two-drop that changes the board than a mana rock that doesn't. Control decks that win long games want draw to keep finding answers; combo decks want draw to find their pieces.
- Balanced: most midrange decks. The classic 2.5–3.5 average-cost midrange deck wants the standard balanced split — roughly 8–12 of each — because it does a bit of everything and needs both to be reliable.
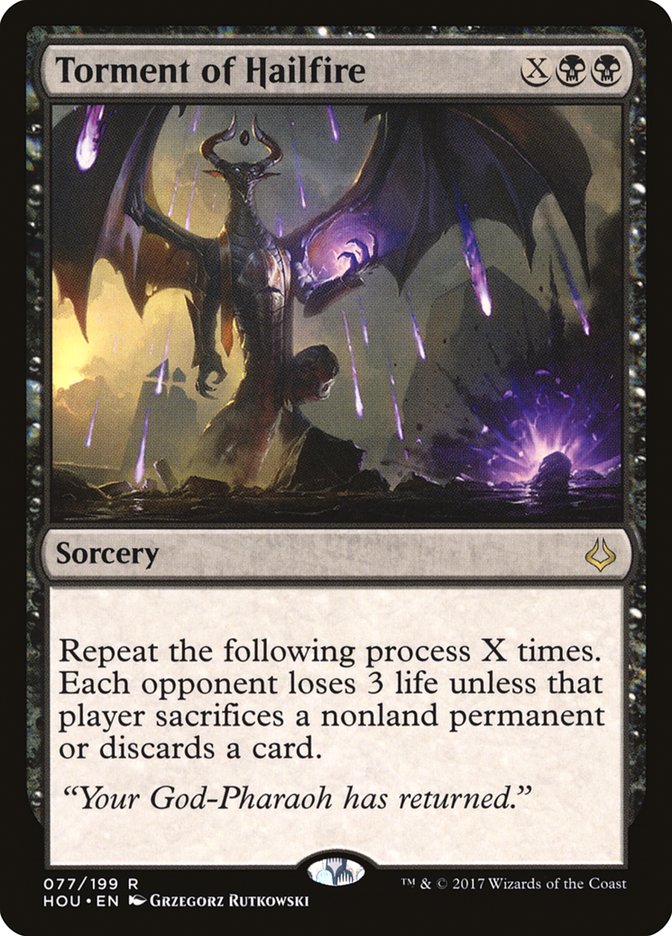
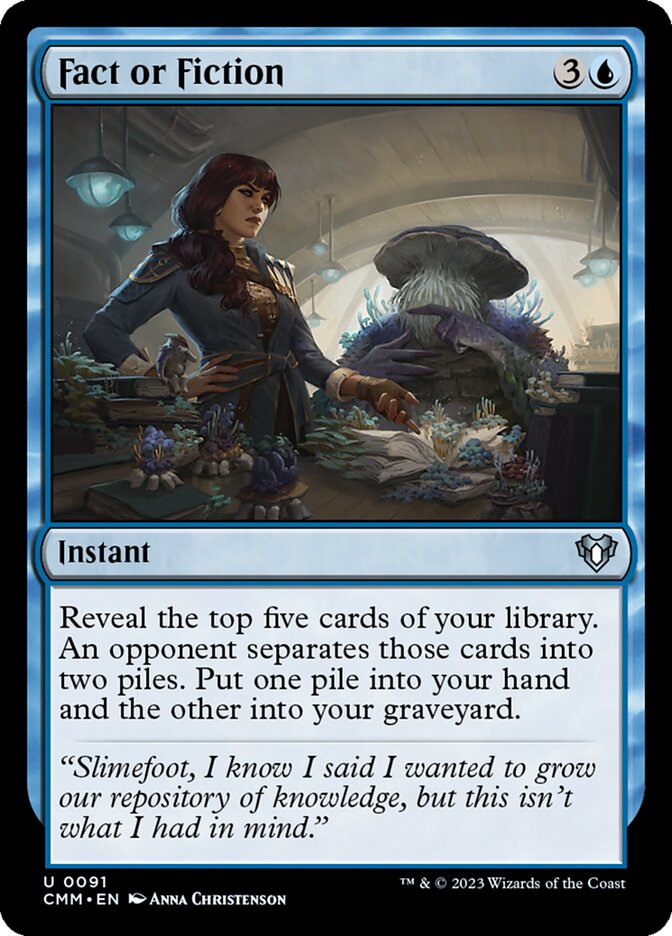
Don't Forget Your Commander
Your commander is always available, so build around what it gives you. If your commander draws cards, you can run fewer dedicated draw spells and spend those slots on synergy or payoffs. If your commander ramps (or makes mana), you can cut a few ramp pieces and add more things to spend the mana on. The commander is a reliable, repeatable source of one resource or the other — let it cover that side so the 99 can lean into the rest.
How They Trade Against Lands
Ramp and card draw don't just sit alongside your lands — they change how many lands you need, because they're both forms of "more resources." Two rules of thumb worth knowing:
- Ramp lets you cut lands — carefully. A common ratio is that roughly 2–3 ramp sources let you safely shave one land from the deck, since ramp also produces mana. But don't overdo it — ramp still needs lands to function (most rocks and dorks assume you've made your early land drops), so it accelerates a mana base, it doesn't replace one.
- Heavy card draw lets you run fewer lands. Because drawing more cards means you naturally hit more land drops, draw-heavy decks can run a slightly lower land count and still make their drops. Decks with extreme card draw can dip well below the usual count — though most decks shouldn't push it that far.
The deeper point: lands, ramp, and card draw are all part of one connected mana-and-resource system. You're not filling three separate quotas — you're tuning a single engine. Add ramp and you can trim lands; add draw and you can trim lands; but cut too much of the foundation and the whole thing seizes up. (For the land cards themselves, see our budget dual lands guide, and for how it all sits on the curve, the mana curve guide.)
Quality, Not Just Quantity
Counting your ramp and draw is only half of it — the quality of each piece matters as much as the number. A few principles that separate good resource cards from filler:
- Count real draw, not cantrips. Many deckbuilders only count cards that net you two or more cards in hand as true "card draw." A one-card cantrip is nice smoothing but doesn't grow your resources; a repeatable engine or a big refill does. Weight your draw package toward cards that actually pull you ahead.
- Mix your draw types. You want a blend of burst draw (a big one-time refill), repeatable draw (an engine that draws every turn), and selection (scry, filtering, tutoring) that finds the right card rather than just more cards. The mix keeps you flexible.
- Pick ramp that fits the deck. Land ramp is resilient (hard to remove, builds your mana base), artifact ramp is flexible (works in any deck), creature ramp is fragile but fast (dies to board wipes). Match the type to your colors and how much removal your pod runs.
- Love the cards that do both. The best resource cards are ramp and draw at once — a mana rock that replaces itself, or an enters-the-battlefield creature that ramps and draws. These dodge the whole tension by advancing both axes from one card. Prioritize them.
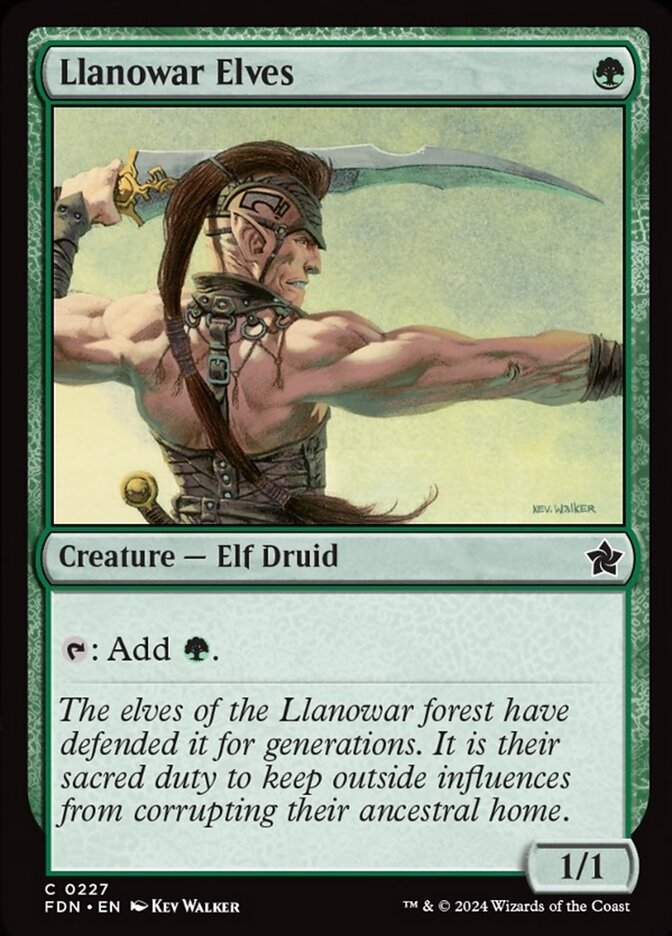

That last point is the secret to escaping the ramp-versus-draw dilemma: the more of your cards that quietly do both, the less you have to choose. A deck full of two-for-one resource cards is rarely starved on either axis.
Common Mistakes
Mistake #1: All ramp, no payoff.
Loading up on mana rocks with too few cards (or too few impactful ones) to spend the mana on leaves you with a big mana pool and an empty hand. Ramp is a means, not an end — make sure you have card draw and payoffs worth ramping toward.

Mistake #2: Skimping on card draw.
The most punished mistake in Commander. A deck with two or three draw spells runs out of gas and spends the late game topdecking lands while opponents bury you in options. Get to at least ~10 real draw effects — it's the category that makes every other category work.
Mistake #3: Running ramp a low-curve deck doesn't need.
If your deck tops out at three mana, a hand full of mana rocks is a hand of cards that don't affect the board. A cheap, fast deck often wants more lands and more action instead — you'd rather draw a real two-drop than a rock you don't need. Don't add ramp reflexively.
Mistake #4: Ignoring what your commander already gives you.
If your commander is a draw engine and you also jam twelve draw spells, you've over-invested one axis and under-built the other. Let the commander cover its side, and spend the freed-up slots on the resource it doesn't provide.
Mistake #5: Tuning by theory instead of playtesting.
The ratios here are starting points, not answers. The only way to know whether your deck is mana-starved or card-starved is to play it. Ask the one question — "am I casting the spells I want to?" — after real games, and adjust toward the problem you actually keep hitting.
FAQ & Quick Reference
- If I can only improve one, which should it be? Usually card draw — it's the most important category in Commander, because seeing more cards finds everything else you need. The exception is if you're regularly unable to cast your hand or missing land drops; then ramp is the fix. Ask whether you're casting your spells: no → ramp, yes → draw.
- How much ramp and draw should I run? A balanced midrange deck wants roughly 8–12 of each, with at least ~10 dedicated draw effects. Big-mana and high-curve decks push ramp higher; low-curve and control decks lean toward draw and may run very little ramp.
- Does more ramp mean fewer lands? Somewhat — roughly 2–3 ramp sources can let you cut one land, since ramp also makes mana. But ramp still needs lands to function, so don't slash your land count too far. Think in total mana sources (lands + ramp), aiming around 43–50.
- What counts as "real" card draw? Many builders only count effects that net two or more cards. Cantrips (draw one) smooth your draws but don't grow your resources, so weight your package toward repeatable engines and big refills, with some selection (scry/filtering) to find the right cards.
- What's the best kind of resource card? One that does both at once — ramp that replaces itself, or a creature that draws when it enters. Cards that advance mana and cards together sidestep the whole ramp-vs-draw tension, so prioritize them when you can.
- Ramp: more mana sooner — cast bigger/more spells. Run ~8–12.
- Card draw: more cards — always have a play. Run ~8–12, aim 10+.
- Tiebreak: card draw is the more important category — it finds everything else.
- The decision question: "Am I casting my spells?" No → ramp. Yes → draw.
- By deck: big-mana/high-curve lean ramp; low-curve/control lean draw.
- Best cards: do both at once; and always playtest before trusting a ratio.
Fuel the Plan, Then Find the Cards.
Ramp and card advantage are the twin engines of every good Commander deck — one gives you the mana to act, the other the cards worth acting on. Run roughly 8–12 of each, lean slightly toward draw as the category that makes everything else work, and let your commander cover whichever side it provides. Then answer the one question that matters — "am I casting the spells I want to?" — and add ramp if the answer is no, draw if it's yes. Favor the cards that quietly do both, playtest until the deck stops stumbling, and you'll have a deck that always has mana to spend and something worth spending it on.
© GEEKYDOMAIN.COM | Strategy Powered by Data